This step allows you to add your sponsor space representatives and register them for the event by configuring their login and password information.
Note: The information you provide in this step will be used as the event login information. However, each sponsor space staff member will be able to set up and modify their own profiles, including login and contact information, once they log into the event.
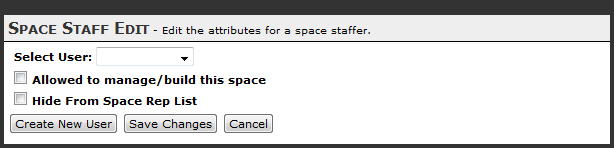
To add a staff member that already has a profile (typically only the sponsor space administrator):
- Click “Add New Staffer”
- Select the user’s name from the “Select User” drop down menu.
- Click “Save Changes”.
To add a new staff member for your sponsor space:
- Click “Add New Staffer”.
- Click “Create New User”.
- Fill out the following fields –
In the “Personal Info” tab (required):
Name: Enter the full name of your new sponsor space staff member.
Type: If applicable, select the type of user from the drop down menu. Typical options include “Staff” and “Administrator”. Access to administrative features may be limited based upon the user type.
Email Address: Provide a valid email address (unique to each member).
Login ID: Provide the login name the user will use to access the event.
Password: Create a password for the user
Time Zone: Select the time zone of that the user works in. All times displayed n the event are adjusted to reflect the user’s local timeIn the “Contact Info” (optional):
All tabs are optional and may be filled out by the user when the log into the event. You may fill out the contact information if desired.
- Click “Save Changes”.
- The new staff member will appear in the main Space Staff window.

To modify an existing staff member’s profile:
- The main Space Staff window displays a list of all of the staff members assigned to the sponsor space.
- Click on “Edit” link on the same row as the staffer’s name.
- Modify the user’s profile as needed. You may upload the user’s picture, if desired.
- Click “Save Changes”.
Once you have added your sponsor space staff members and configured their information, click “Apply Changes”.
Note: You can go back and edit any step at any time during the sponsor space building process.